How to Play
Everything you need to go from fresh off the boat to slaying dragons. Five minutes here will save you an hour out there.
- The basics
- Controls
- Combat
- Skills and levels
- Weapons and armour
- Magic and the Ancient Rites
- Quests
- Buildings and the underground
- Where to go
- Ten tips for new players
Looking up something specific? The wiki has every monster, city, spell and weapon in the realm.
The basics
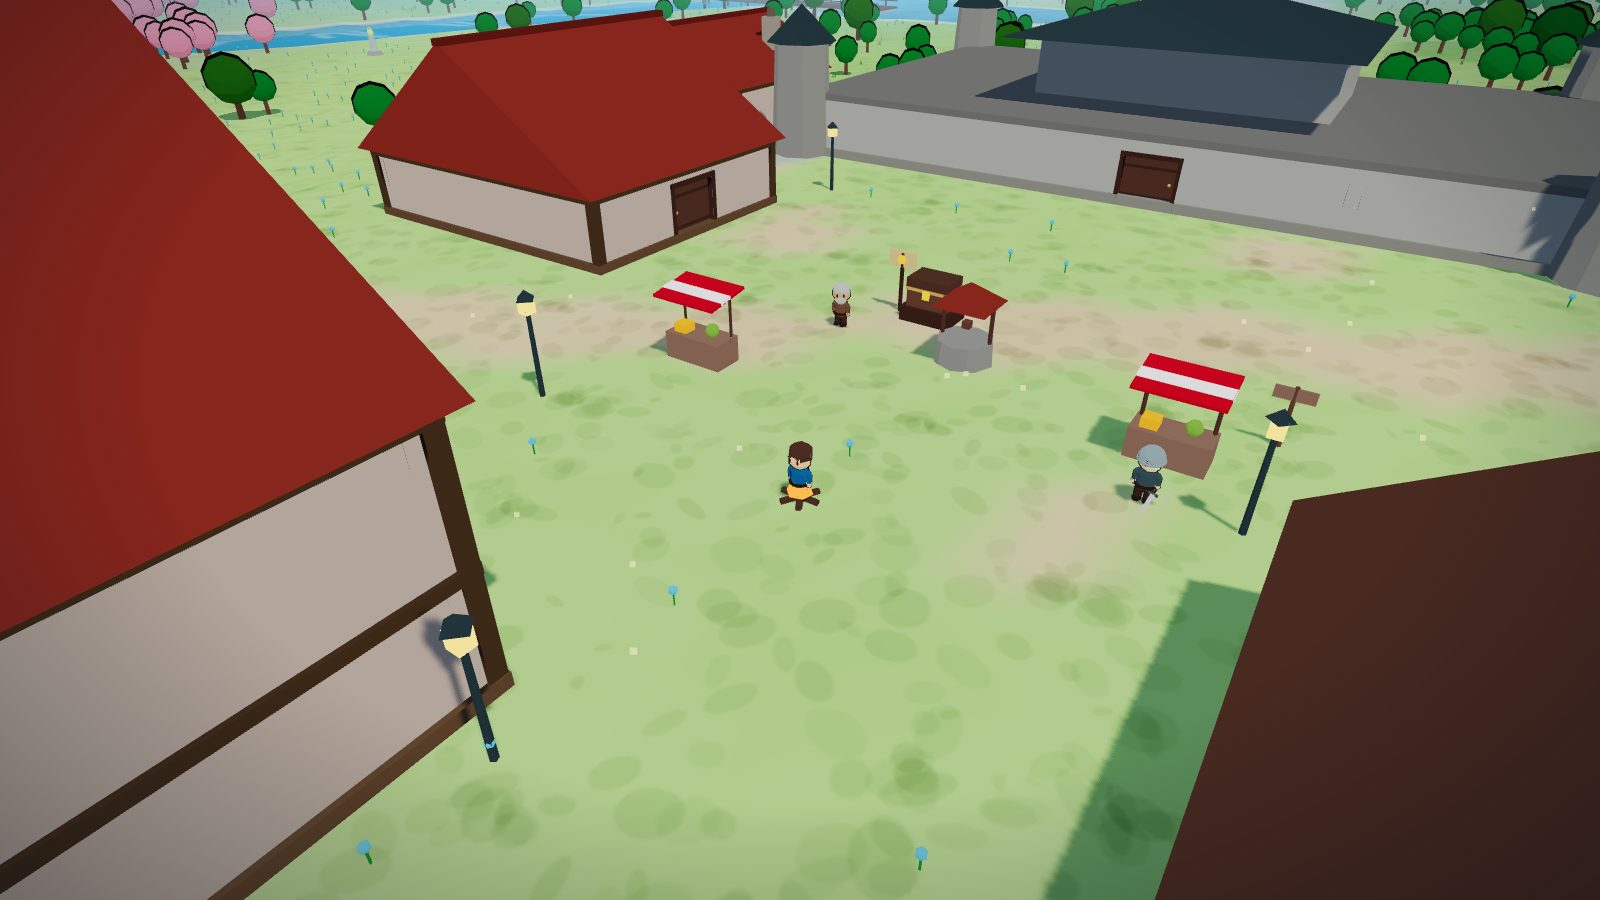
You start in Brightmeadow, the castle town in the middle of the realm. Everything works by tapping or clicking: tap the ground to walk there, tap a monster to attack it, tap a person to talk to them, tap a tree to chop it. Your character handles the rest.
Your health shows in the orb at the top left. Eat food to heal. If you die, you wake up back at the Brightmeadow chapel with everything you were carrying, so death costs you time, not your stuff.
The round map at the top right is your minimap. Tap anywhere on it to walk there. The button under it opens the full world map, and you can tap that to travel long distances too. Yellow dots are people, red dots are monsters.
You walk by default. Tap the boot button beside the minimap to toggle Run and cover ground faster — handy for long journeys, and your choice is remembered.
Your game saves on its own every 45 seconds, and you can save any time from the settings tab.
Controls
| Action | Computer | Phone / tablet |
|---|---|---|
| Walk / attack / talk / gather | Left click | Tap |
| Turn the camera | A D or arrow keys, or hold the middle mouse button and drag | Drag with one finger |
| Tilt the camera | W S or up / down arrows | Drag up / down |
| Zoom | Scroll wheel | Pinch |
| Walk / run | Boot button beside the minimap | |
| World map | M or the button | button |
| Item options (drop, examine...) | Right click the item | Press and hold the item |
| Close menus | Esc | ✕ buttons |
The buttons in the bottom right open your panels: combat settings, skills, inventory, equipment, quest journal, spellbook and settings.
Combat
Tap a monster to attack it. Your character walks over and fights automatically. There are no classes — you become a warrior, an archer or a mage simply by holding a sword, a bow or a staff. The combat panel offers different fighting styles depending on what is in your hand, so you never see a choice that does not make sense (no training Attack with a bow).
With a melee weapon
- Accurate trains Attack, which helps you land hits.
- Aggressive trains Strength, which makes your hits bigger.
- Defensive trains Defence, which makes enemies miss you more.
With a bow
- Accurate for the best aim.
- Rapid for faster shots.
- Longrange for two extra tiles of reach, splitting the experience with Defence.
With magic
- Accurate for the best chance to hit.
- Defensive to split the experience with Defence.
Every fight also trains Vitality, which raises your maximum health, whatever style you use. Each weapon class remembers its own style choice.
Monsters have a name and level above their head. Green means it is weaker than you, yellow means an even match, red means run. Aggressive creatures like wolves and skeletons will attack you on sight, but only if you are around their strength. Once your combat level is more than double theirs, they leave you alone. Bosses attack no matter who you are.
Skills and levels
There are twelve skills, and every one is a long climb from humble beginnings to total mastery. Levels are not just numbers. The game treats them in bands, and you will feel each jump:
| Levels | How it feels |
|---|---|
| 1 to 10 | Just starting out. Weak, but everything is an improvement. |
| 11 to 30 | Finding your feet. You can handle the basics comfortably. |
| 31 to 50 | A solid, capable adventurer. Most of the realm opens up. |
| 51 to 80 | Genuinely strong. Low level content stops being a threat at all. |
| 81 to 95 | Among the best in the realm. Bosses become a fair fight. |
| 96 and up | The greatest. Very little in the world can stand up to you. |
The gathering skills
- Woodcutting: chop trees with an axe. Regular trees at level 1, oaks at 15, willows at 30, maples at 45, yews at 60, magic trees at 75 and elders at 90.
- Mining: swing a pickaxe at rocks. Copper and tin at 1, iron at 15, coal at 30, gold at 45, cobalt at 55, verdite at 70 and arcanite at 85.
- Fishing: shrimp at 1, herring at 10, trout at 20, pike at 30, lobster at 40, swordfish at 50, monkfish at 62, shark at 76 and frostfin at 90. Each spot needs the right tool: net, rod, pot or harpoon.
The making skills
- Cooking: use a fire or a stove to cook what you catch. Better food heals more. You will burn some early on. Everyone does.
- Smithing: smelt ore into bars at a furnace, then hammer bars into weapons and armour at an anvil.
- Kindling: light logs with a tinderbox for a campfire anywhere. Handy for cooking on the road.
Weapons and armour
Gear comes in tiers, and each tier needs the matching level in the right skill. Swords need Attack, armour needs Defence, bows need Range, staves and robes need Magic.
| Level | Melee | Range | Magic |
|---|---|---|---|
| 1 | Bronze | Shortbow, leather | Staff, novice robes |
| 10 | Iron | Oak bow | Elemental staves |
| 20 | Steel | Willow bow, studded | Wizard robes |
| 30 | Cobalt | Maple bow | Battlestaff |
| 40 | Verdite | Yew bow, wild hide | Mystic robes |
| 50 | Arcanite | Magic bow | Mystic staff |
| 60 | Dragon | Elder bow, dragonhide | Enchanter robes |
| 70 | Shadow | Spectral bow | Ancient staff |
| 80 | Ancient | Ancient bow, ancient hide | Archmage robes |
| 90 | Keeper's | Keeper's bow | Keeper's staff |
Shops sell gear up to around the middle tiers. Everything above that you earn: smith it yourself, or take it from the things that carry it. Shadow gear comes from shadow knights, dragon gear from the dragon, ancient gear from the guardians of the Old Keep, and keeper's gear from the Warden himself.
Armour and weapons look distinct enough that you can dress for style as well as stats — plate grows pauldrons and trim, hides get straps and quivers, robes get glowing mantles — and every piece keeps its own numbers, so mixing and matching is fair game.
Legendary weapons and the three Ultimates
The realm's bosses drop unique weapons that no shop will ever stock, each with its own look and a niche the tier ladder cannot fill — the fast Gnawer's Shiv, the crushing Golemfist Maul, the smouldering Emberfang, and more. They are rare. That is the point: they are worth farming for.
At the very top sit three Ultimate weapons, each demanding total mastery of its skill and each solving the question "how do I fight forever":
- Dawnbreaker (melee) heals you for a third of every hit you land — no food required.
- Skypiercer (range) conjures its own bolts of light and never needs arrows.
- Staff of Creation (magic) casts every spell in both books without spending a single sigil.
Magic and the Ancient Rites
Spells need sigils, which you can buy from Eldric at the wizard's tower in Duskmoor. Open your spellbook, tap a combat spell to set it, then attack a monster to start casting. Elemental staves give you unlimited sigils of their element, which saves a lot of coin — and the ultimate Staff of Creation casts with no sigils at all.
The Elemental spellbook runs from Gale Dart at level 1 up to Flame Fury at level 95, with teleport spells to seventeen cities along the way — plus a free Homeward teleport from level one, your way out of anywhere.
The Ancient Rites are a second spellbook, locked behind a quest for the wizard Eldric. Its spells hit harder and carry a sting:
- Smoke spells poison your target.
- Shadow spells weaken their attack.
- Blood spells heal you for part of the damage.
- Ice spells freeze your target where it stands.
Each comes in four strengths: Curse, Hex, Siege and Cataclysm. Ice Cataclysm at level 94 is, quite simply, the scariest thing in the realm that is not a dragon. Mystic Zara in Zahara sells the rare sigils you will need, once you have earned her trust.
Quests
Quests are marked in your journal panel: red means not started, yellow means underway, green means done. Talk to the quest giver to begin.
| Quest | Starts with | Difficulty |
|---|---|---|
| A Cook's Errand | Cook Bertram, castle kitchen, Brightmeadow | Novice |
| Goblin Menace | Captain Roderick, Brightmeadow square | Novice |
| The Missing Shipment | Dockmaster Bran, Valeport docks | Intermediate |
| Across the Sunfall Sea | Shipwright Orla, Eastmere | Intermediate |
| The Ancient Tome | Wizard Eldric, Duskmoor tower | Intermediate |
| The Rot Below | Steward Anselm, Coronmar plaza | Experienced |
| Heart of Stone | Emir Kassim, Zahara palace | Experienced |
| The Failing Light | Archmage Vell, Highspire | Experienced |
| Dragon of Frostpeak | Duke Alaric, Ancients Keep | Master |
| Embers of War | Marshal Kael, Thornwall | Master |
| The Golden Tithe | Magistrate Corvina, Auremont (Meridia) | Master |
| Echoes of the Ancients | Elder Maren, Oakhurst | Grandmaster |
| A Crown of Cinders | Chancellor Elara, Aurelia | Grandmaster |
| The Hollow Crown | Chronicler Vance, Aurent Palace (Meridia) | Grandmaster |
| The Evening Gate | Gate Warden Serica, Vesperion (Vespera) | Experienced |
Do the two Novice quests first. They teach you the ropes and the rewards give you a real head start. Collection quests now steer you home the moment your pack holds everything a step needs — watch for the message and follow the quest marker back to the giver.
See every quest, its rewards and where it leads in the wiki →
Buildings and the underground
Buildings are real places, not scenery. Walk through the door and the roof lifts away so you can see inside. Shops have shelves, the chapel has its altar, and the castle keeps a throne room.
Inns have an upstairs. Click the staircase to climb up, and click it again to come back down. Up there you will find beds, and sleeping in a bed restores all of your health for free. Every village inn has one, and so do the houses of generous folk.
The caves
Four cave systems run beneath the realm. Each has a marked entrance on the surface: a dark hole ringed with rocks. Click it to climb down, and use the lit exit inside to climb back out. It is dark down there, so stay near the torches until your nerves settle.
| Cave | Entrance | What is down there |
|---|---|---|
| Meadow Mine | By the farmlands mine | Copper, tin and iron, rats, bats and goblins. A gentle first dungeon. |
| Duskmoor Crypt | Beside the wizard's tower | Gold ore, skeletons, ghouls and mummies. |
| The Deep Mine | Above Frosthollow | Cobalt and verdite, guarded by cave crawlers. |
| Vault of the Ancients | Inside the Old Keep | Arcanite, deep shades and ancient guardians. Endgame only. |
| The Coronmar Sewers | Grates in the Crown City's streets | A three-tier dungeon: rats up top, sewer lurkers and ghouls below, and the Sewer King in the deep dark. Deeper is deadlier — and richer. |
Every cave hides a treasure chest in its deepest room. Chests refill after a few minutes, and the deeper you go, the better the haul.
Where to go
- Brightmeadow (centre): your home base. Shops, quests, the smithy, the chapel that heals you for free, and the Gilded Tankard for hot food.
- The farmlands (south east): cows, sheep and chickens for easy first fights, plus a starter mine with copper, tin and iron.
- Saltmere (south west): fishing central. Nets, rods, pots and harpoons, from shrimp all the way to shark.
- Eastwood and Oakhurst (east): goblins for the quest, then wolves, boars and bears as you toughen up. Oakhurst sells the best axes and bows.
- Duskmoor (west): the wizard's tower and sigil shop. Skeletons and dark wizards roam the moor, and worse things further west.
- Mirefen (south west, in the swamp): monkfish waters and swamp horrors. Bring a net and a weapon.
- Frosthollow (north): the mining town. Iron and coal nearby, cobalt and verdite up the slopes, ice wolves in between.
- Zahara (north east): desert town with gold rocks, forbidden sigils, and the King Golem in the ruins next door.
- Frostpeak (far north): the dragon's mountain. Ice warriors and frost giants guard the way up.
- The Old Keep (far north west): shadow knights, ancient guardians, elder trees, arcanite rocks, and the Warden. Do not go early. You were warned.
The great cities and the far frontier
Beyond the old lands, the map opens into a frontier of great cities and one place you should fear:
- Coronmar (south west): the walled Crown City, seat of the High King. Three gates, a multi-floor castle, the finest shops in the realm — and the Sewers beneath, where Steward Anselm has a job for the brave.
- Aurelia (deep south): the Golden City. Grand markets, golden roofs, and Chancellor Elara, who will pay a fortune to anyone who can kill a drake.
- Valeport and Solmara (south east coast): harbour cities of trade and deep-water fishing. Smugglers up the coast from Valeport hold a shipment that is not theirs.
- Highspire (east highlands): a city of mages whose great beacon is guttering out. Archmage Vell needs crystals the old sentinels carry.
- Castle Greyhold (east): a walled castle of games — the archery range, the Pit, and Lady Fortuna's dice. Win tickets, trade them for prizes.
- Thornwall (far east): a grim fortress city, the last safe wall before the ash. Marshal Kael arms anyone heading north into the fire.
- The Stormcrown & the Vale Heights: two great massifs — snow-capped peaks ringed in autumn forest. The heights themselves are too steep to climb; the maple country on their skirts is the reward.
- The Scorchlands (far north east): the endgame. A burning waste of ash and lava where ash stalkers, cinder wraiths, magma golems and the Ember Drake guard the greatest treasure in the realm. Bring the best food you can cook, the best gear you can carry, and no pride. You were warned twice.
Across the Sunfall Sea: Meridia, the Gilded Continent
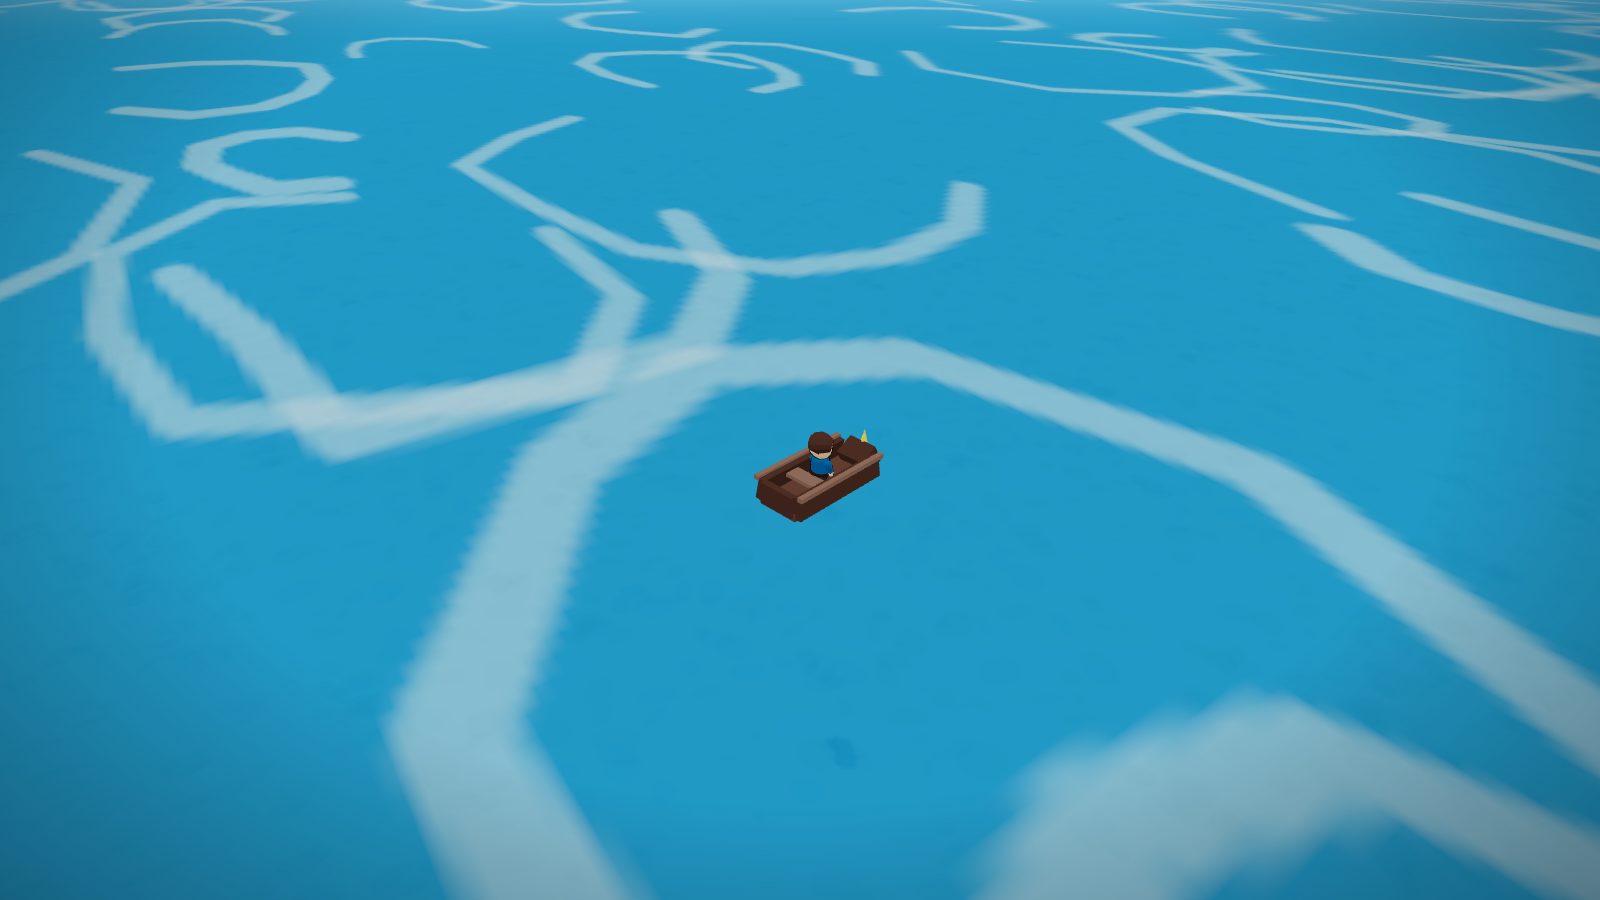
East of the mainland lies the open ocean — and beyond it a second continent. Shipwright Orla in Eastmere (the little boatworks village on the east coast) will build you a coastal skiff (a short quest: bring her oak logs), and once it is folded on your back you can click any open water to sail: along the coasts, out to Gullwing Isle, Corsair's Hold, Mirrormere and the Wreck of the Meridian, and across to the port of Goldstrand. Stay on the bright water — the dark deeps at the edge of the world sink skiffs. High-level mages can skip the voyage entirely with the Goldstrand (80) and Auremont (85) teleports.
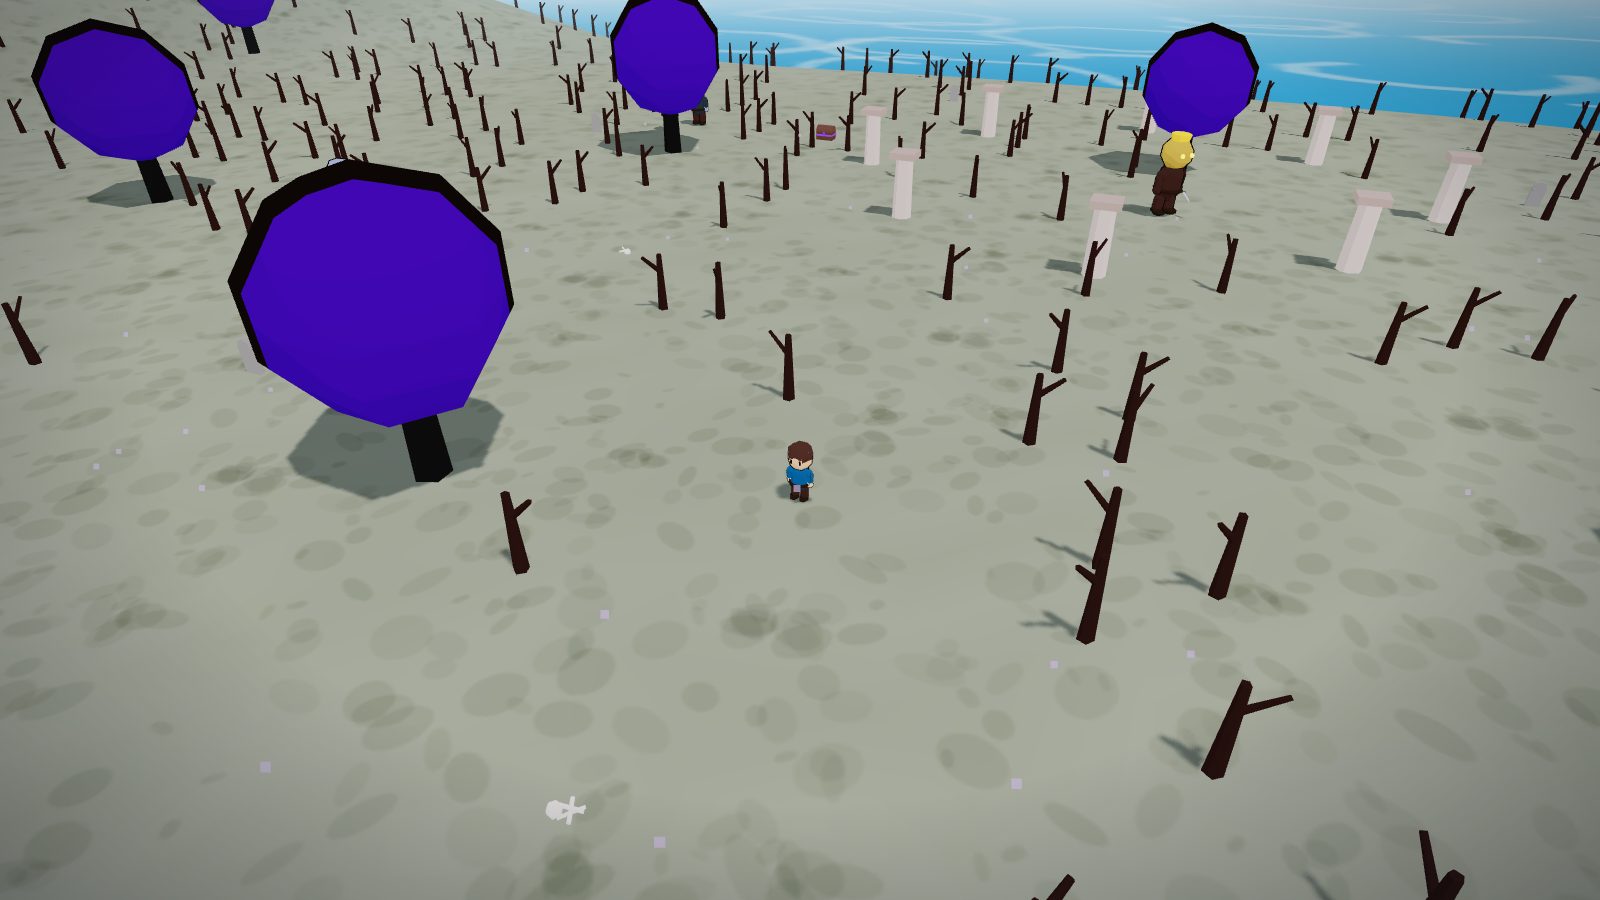
Meridia is the richest land in the game: the gilded capital Auremont, the mining town Vessa with gold and runite in its hills, terraced gold country full of level 90+ Gilded Husks and Hoard Golems — and the Hollowvale, a grey vale in the north-east that every local will tell you to stay out of. The Hollow King (level 122) waits at its barrow with the game's best head-slot drop. Listen to the locals until you're ready. Then don't.
The Southern Seas: Sunhaven & Velmora
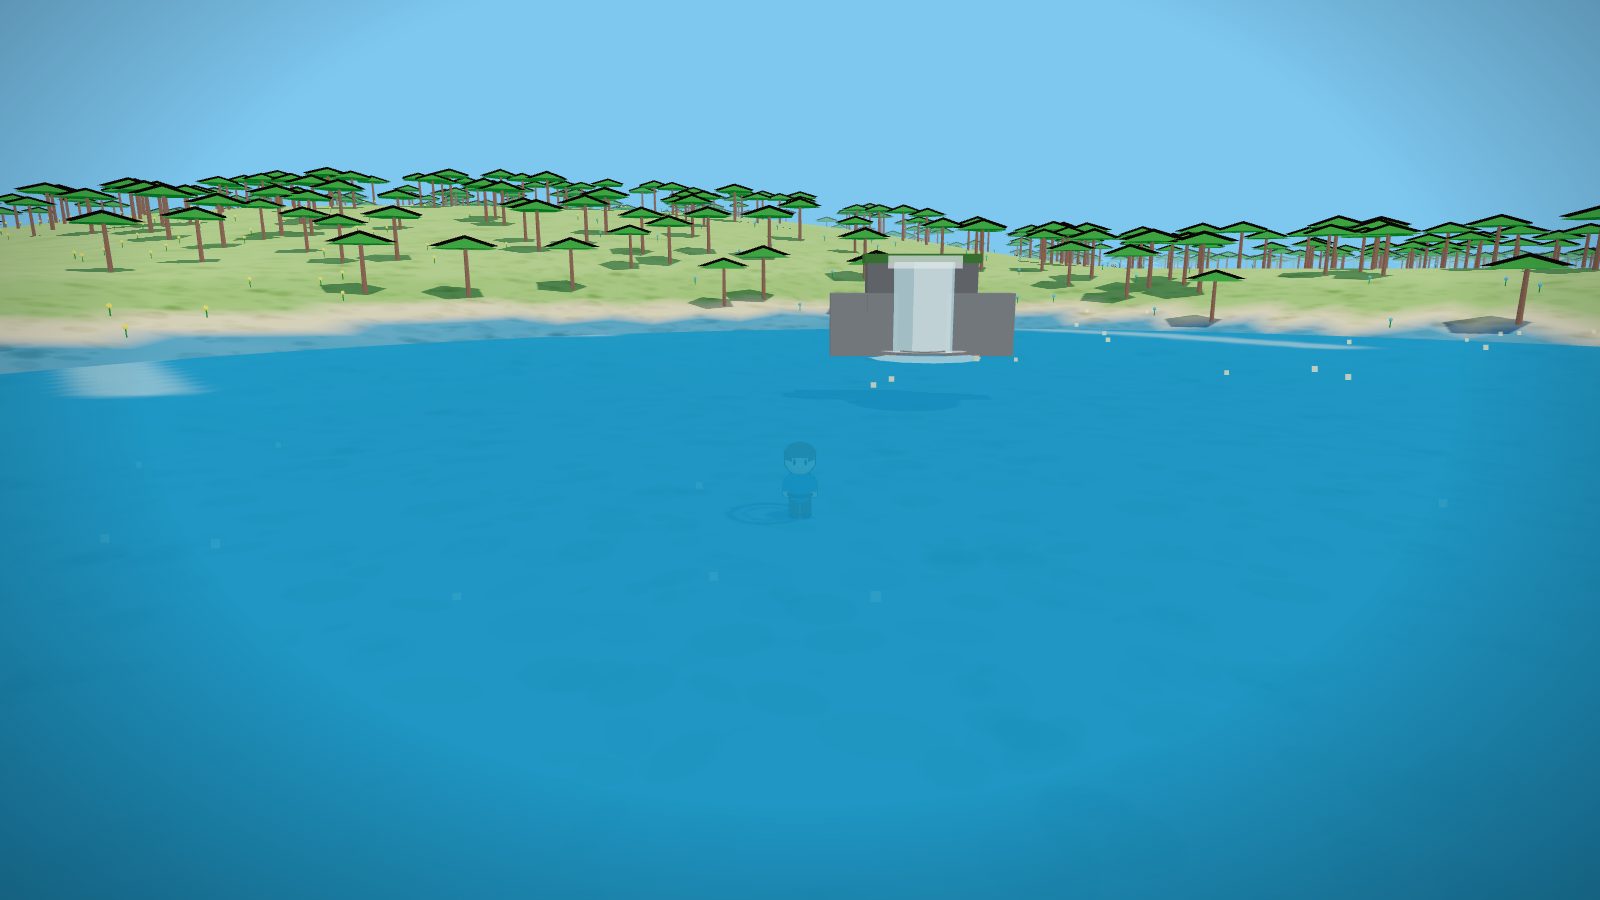
South of the mainland the coast gives way to a warm tropical sea, and your skiff works there too — sail off the southern beaches and island-hop your way down. Sunhaven Isle is the realm's holiday spot: a waterfall pouring off the high plateau into a turquoise lagoon, a beach village with the Tipsy Tiki bar, easy fishing, and sand crabs (level 8) that make gentle training for new fighters. The reef past the lagoon is another story — reef snappers at level 34, and the King Crab (level 46) who drops the unique crabshell shield.
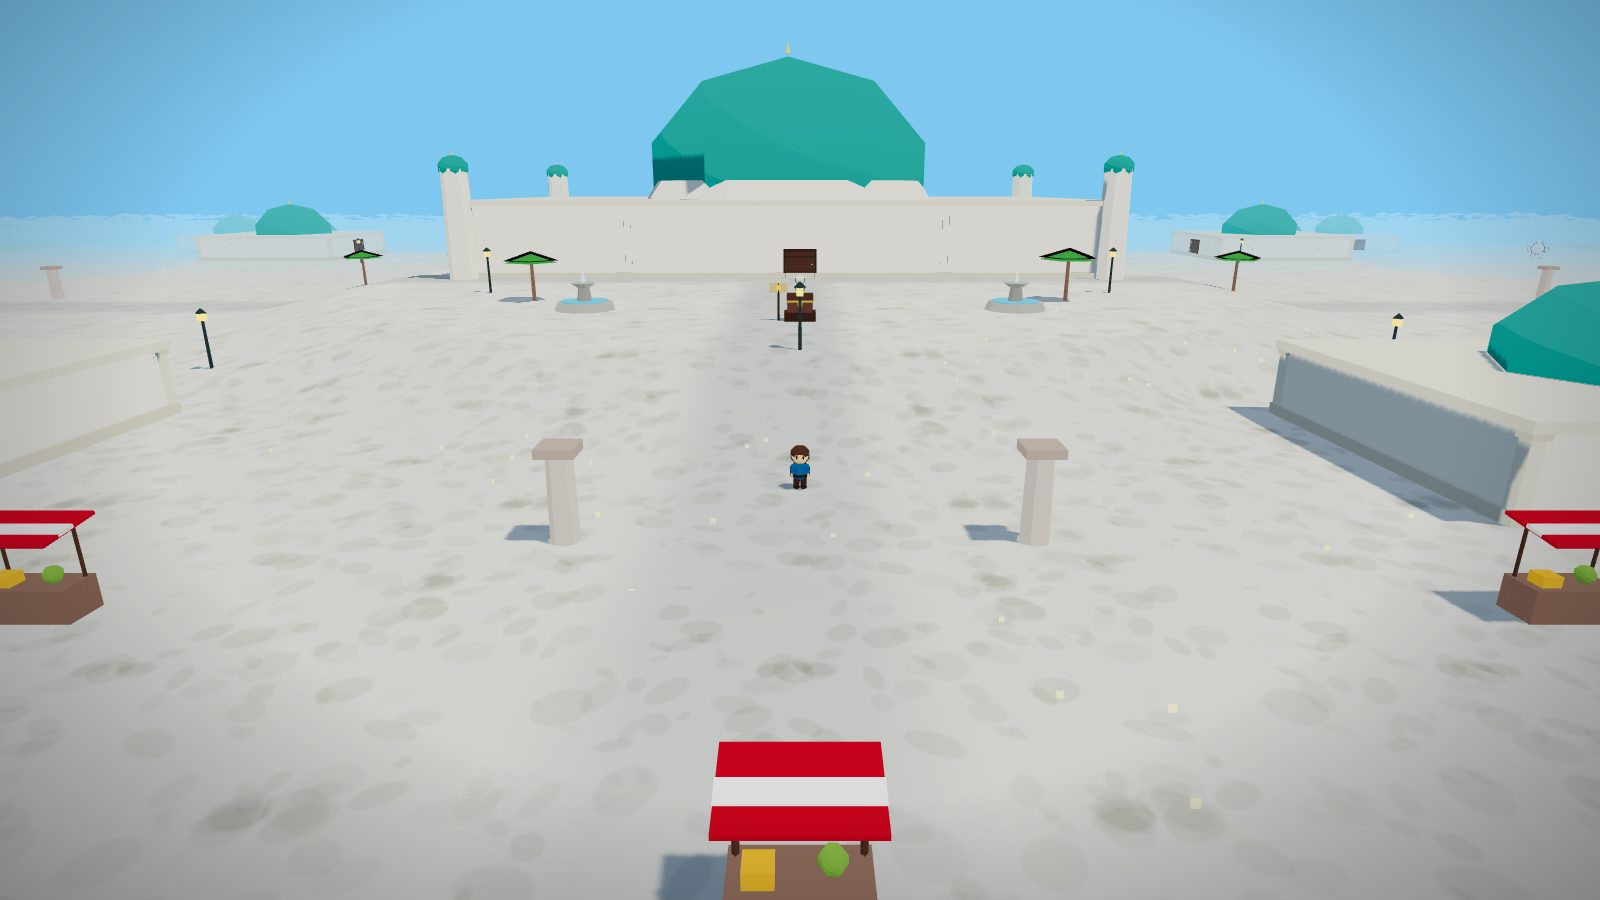
Further west sits Velmora, the Pearl of the South — a marble metropolis built in three shining tiers, crowned by the domed Pearl Palace. It has everything a city should: an arms dealer and an arcanum, the Tidal Baths, the Athenaeum library, a songhall, a bank on the promenade and a dock for your skiff. Watch your pockets in the arcades (velmoran cutpurses, level 42) and don't pick fights with the marble sentinels (level 74) that guard the palace tier. Smaller isles dot the sea between — Palm Rest, the Twin Sisters, Starfall Isle and Lanternwatch with its lighthouse. Mages can skip the sailing with the Sunhaven (66) and Velmora (88) teleports.
West across the Dusk Sea: Vespera, the Evening Continent
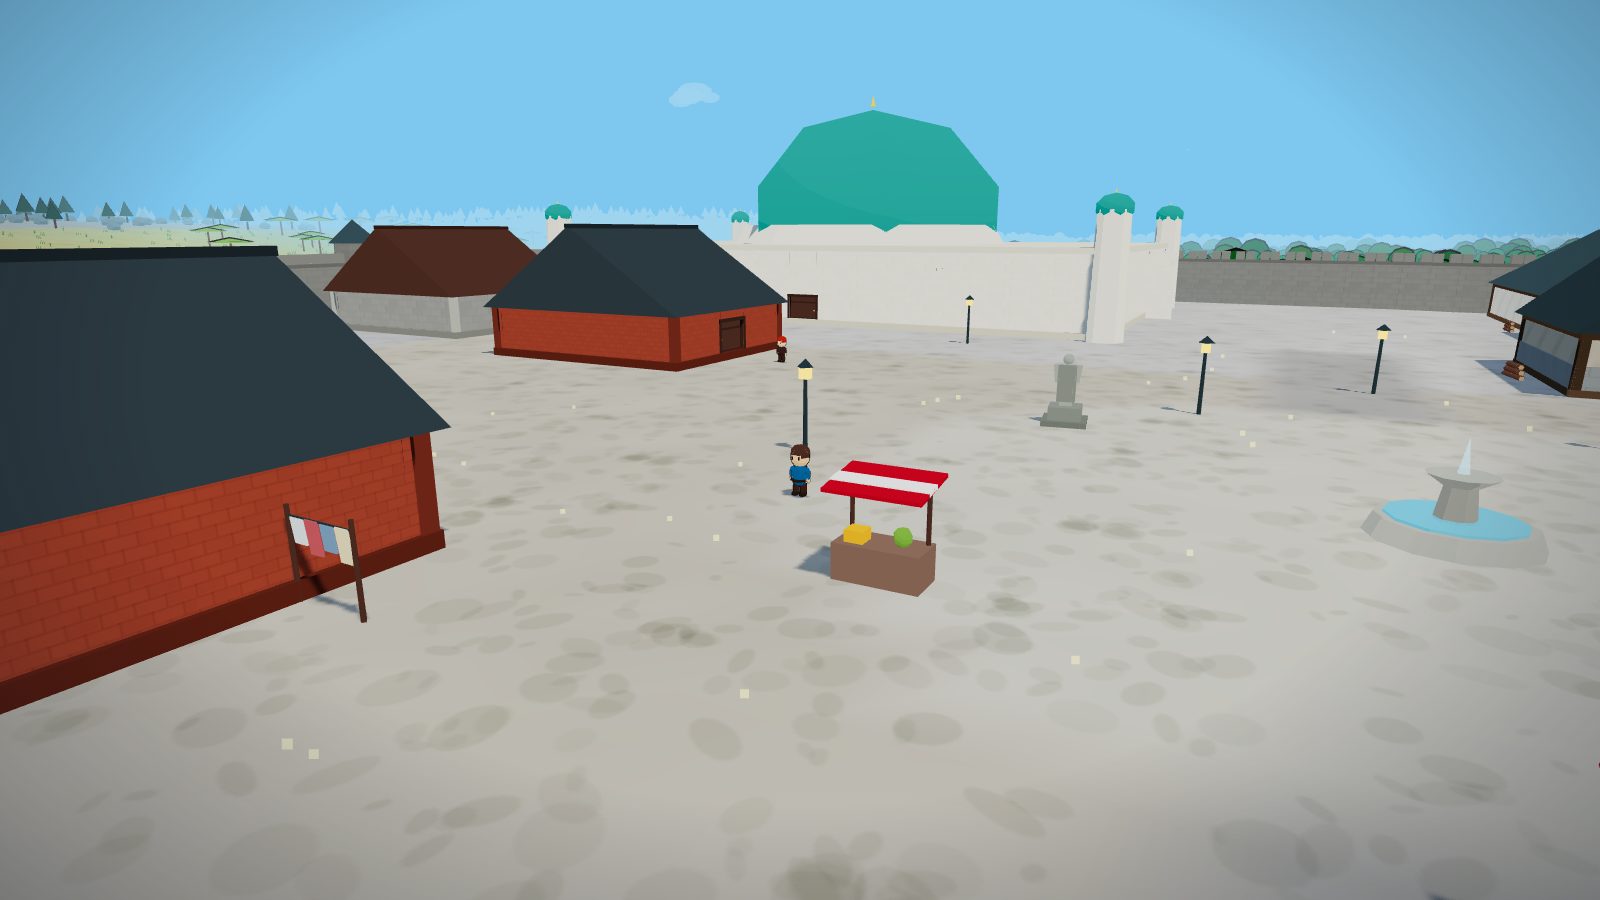
Sail west off the mainland's coast (or take the Westhaven teleport at Magic 78) and you cross the Dusk Sea to Vespera — the biggest landmass in the game. It runs from a frozen north (frost sabres, tundra mammoths, the ice island of Icemark) through prairie heartlands (thunder bison, dusk prowlers) and a desert basin behind the Sable Cordillera (dune stalkers), down to a warm southern taper and the Pearl Cays. Your port of entry is Westhaven on the strait — fair shops, good fishing, and Harbormaster Quill's famous paperwork.
Inland stands Vesperion, the greatest city in the world — and its one gate is locked. Gate Warden Serica starts The Evening Gate quest: prove your steel against the dusk prowlers, get your writ stamped in Westhaven, and the gate opens to you forever. Inside: the realm's best-stocked shops (weapons, siege armour, a sigil emporium and the Evening Market), the Silver Vault bank, Evensong Cathedral, Vesperhall — and the colosseum.
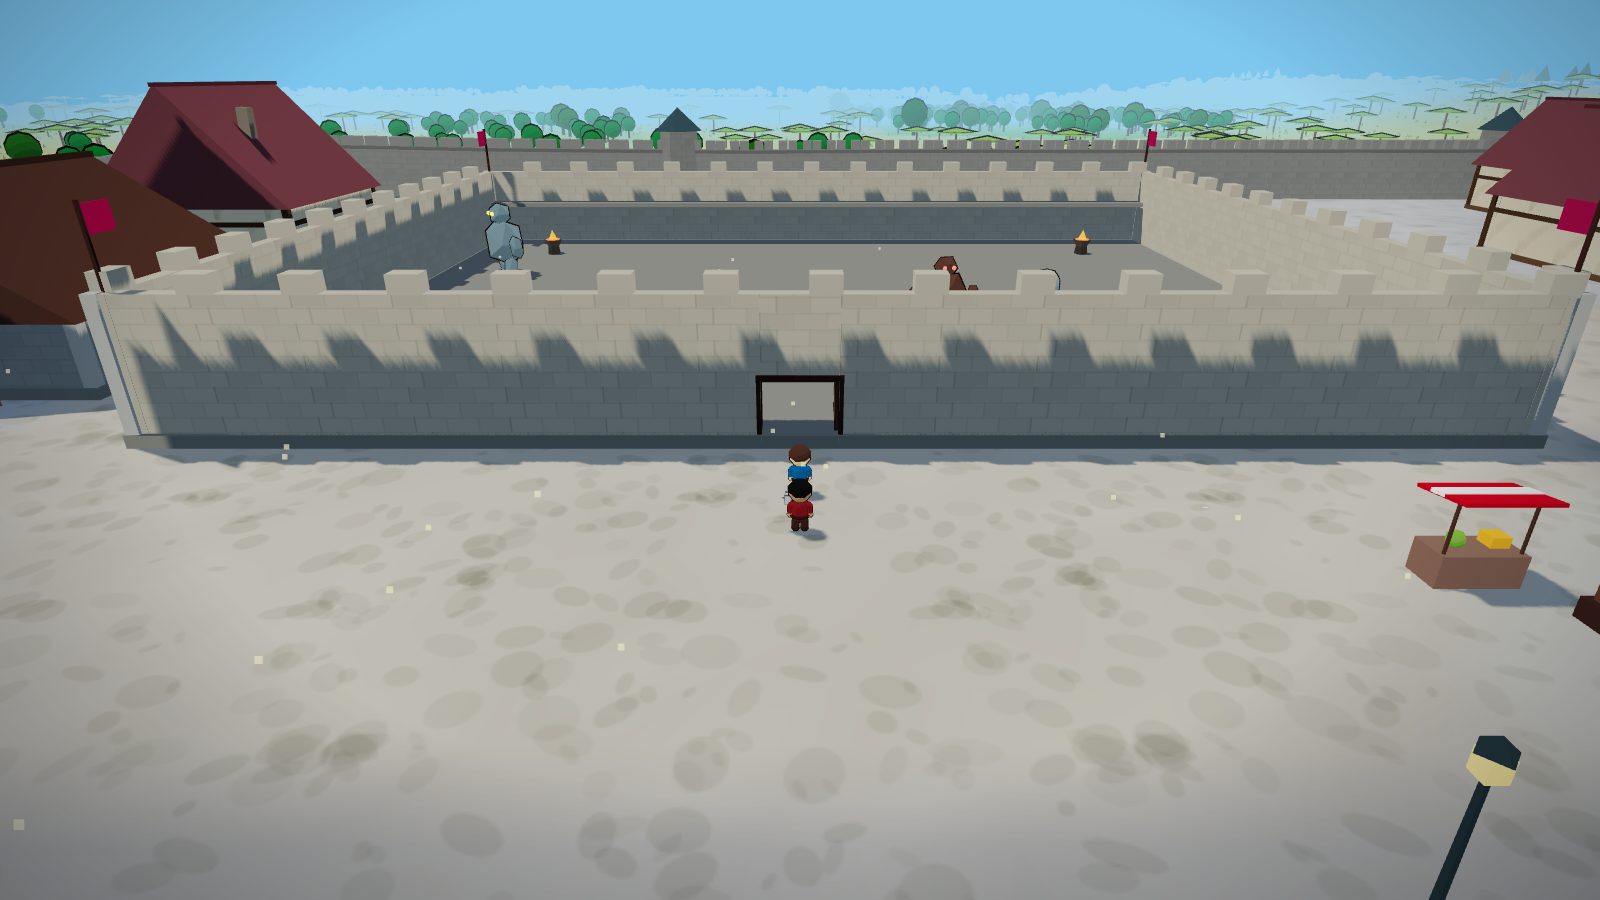
The Eventide Colosseum is the safest dangerous place in the realm: the Pit Behemoth (138), the Storm Revenant (124) and the Iron Colossus (146) wait on the sand. Arena fights award no experience and no loot — they are pure sport — and if you fall, the pit stewards simply prop you up outside the door, no items lost, ready to try again. It is the perfect place to test endgame gear against monsters far above anything else in the game.
Ten tips for new players
- Do A Cook's Errand first. It walks you through fishing and cooking and pays for your first upgrades.
- Buy an axe and a tinderbox before you leave town. Cooked food from your own fire is free healing forever.
- Match your gear to your level. A new sword every 10 levels makes a bigger difference than you think.
- Check a monster's colour before you swing. Red names hit back harder than you expect.
- Wolves stop chasing you once you outgrow them. If somewhere feels too dangerous, come back 20 levels later and stroll through.
- Keep sigils for one teleport spell with you. Walking home is scenic exactly once.
- Sell your spare pelts, logs and fish to shops. Coins buy arrows, sigils and better tools.
- Train Fishing and Cooking together. Catch a load, cook the lot, eat the evidence.
- Before a boss, fill your whole pack with the best food you can cook. Every hero who died skipped this step.
- Sleeping in a bed heals you completely, for free. Every inn has beds upstairs.
- Talk to everyone. The people of this realm point the way to every secret in it.